Your public homepage is easy to monitor. Paste the URL, hit save, done.
But most of what your application does happens behind authentication. Your API endpoints, user dashboards, data feeds, and backend services all require valid credentials before they respond. If any of those break, your users notice — but your monitoring tool doesn't, because it can't get past the login gate.
Monitoring authenticated APIs requires a slightly different setup: you need to pass the right credentials with each check. This guide explains the four main authentication patterns and exactly how to configure monitoring for each one.
Why Authenticated API Monitoring Matters
Public uptime checks have blind spots
A standard uptime monitor checks whether your homepage returns 200. That's useful, but it misses everything behind authentication:
- Your REST API might be returning 401 Unauthorized for all requests due to a broken auth middleware
- A JWT signing key rotation might have invalidated all tokens — users are logged out but your public check is still green
- A database migration broke your
/api/v1/usersendpoint but your homepage is unaffected - Your payment processing API is timing out, but only for authenticated requests
Public checks confirm your server is reachable. Authenticated checks confirm your application is working.
The most critical endpoints are authenticated
Think about which API failures would actually impact your business:
- Users can't log in (
/api/auth/login,/api/auth/refresh) - Data can't be loaded (
/api/v1/dashboard,/api/v1/data) - Actions can't be performed (
/api/v1/orders,/api/v1/payments) - Webhooks are failing (
/api/webhooks/receive)
Most of these require authentication. If you're only monitoring public URLs, you're monitoring the least important parts of your API.
The Four Authentication Patterns
Pattern 1: API Key in Header
The simplest pattern. A static key passed as a custom HTTP header.
Common header names:
X-API-Key: your-key-hereX-Auth-Token: your-token-hereApi-Key: your-key-here
Used by: Stripe, SendGrid, most third-party SaaS APIs, many internal APIs.
Example request:
GET /api/v1/status HTTP/1.1
Host: api.yourapp.com
X-API-Key: sk_live_abc123xyz
How to configure in Webalert: Add a custom header to your HTTP check:
- Header name:
X-API-Key - Header value:
sk_live_abc123xyz
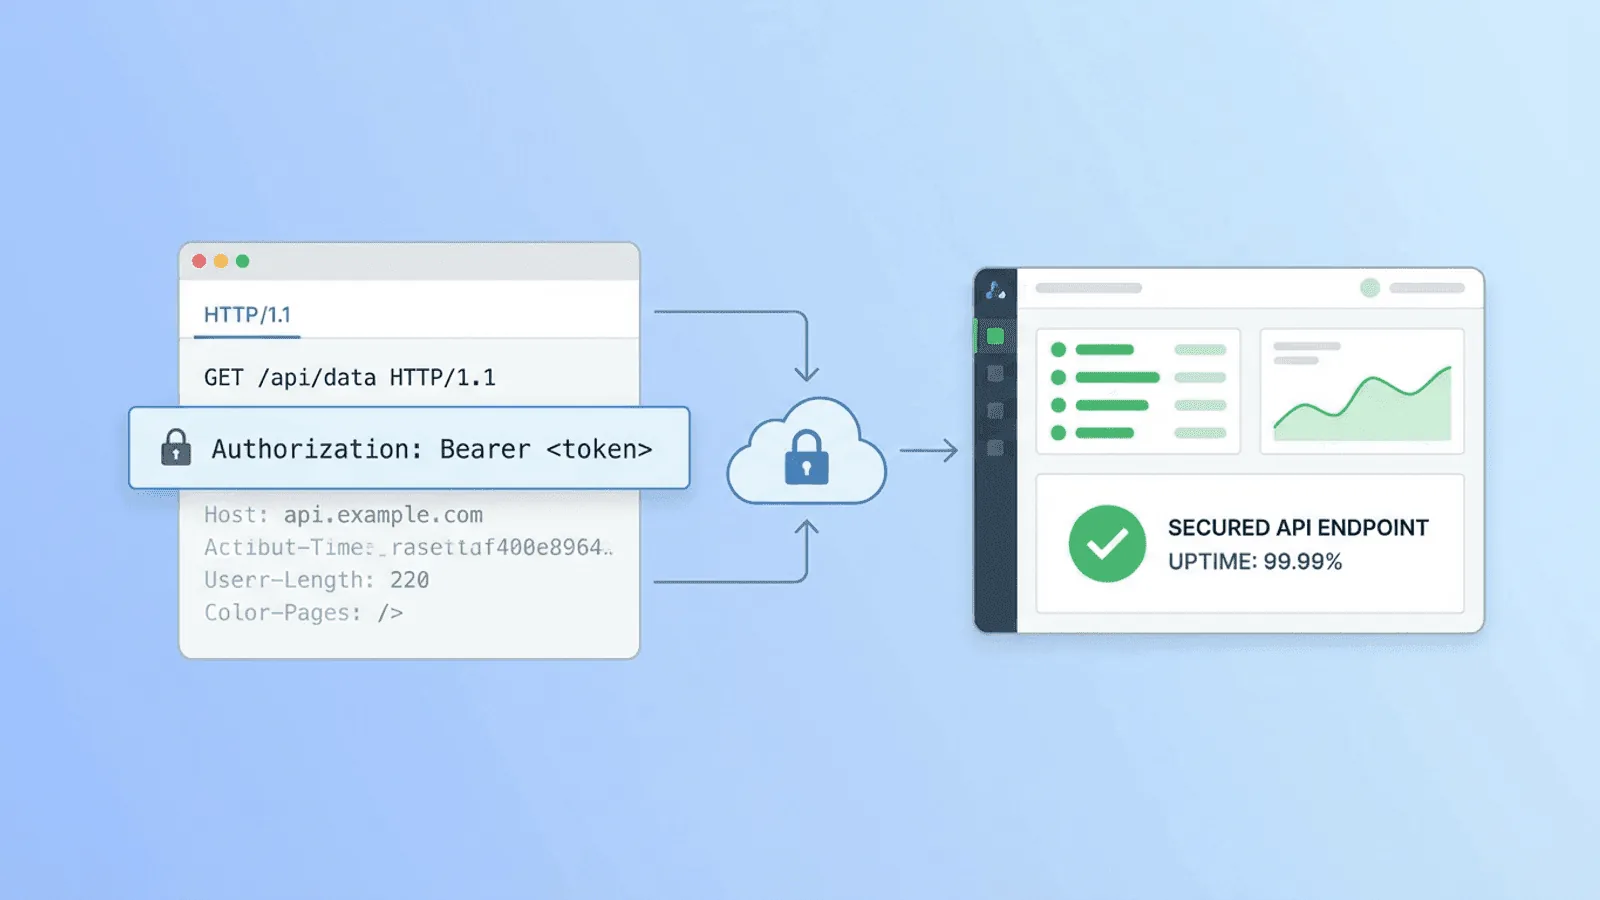
Pattern 2: Bearer Token (Authorization Header)
The most common pattern for modern REST APIs. A token (usually a JWT or opaque token) passed in the Authorization header.
Format:
GET /api/v1/users HTTP/1.1
Host: api.yourapp.com
Authorization: Bearer eyJhbGciOiJIUzI1NiIsInR5cCI6IkpXVCJ9...
Used by: OAuth 2.0 APIs, JWT-authenticated APIs, most modern REST APIs.
Subtypes:
- Static bearer token — A long-lived token generated for monitoring purposes. Simple to set up, but requires periodic rotation.
- JWT with long expiry — A JWT with a very long expiry (e.g., 1 year) created specifically for monitoring.
- Service account token — A dedicated service account token with read-only permissions.
How to configure in Webalert: Add a custom header:
- Header name:
Authorization - Header value:
Bearer eyJhbGciOiJIUzI1NiIsInR5cCI6IkpXVCJ9...
Pattern 3: Basic Authentication
HTTP Basic Auth encodes username:password as base64 and passes it in the Authorization header.
Format:
GET /api/v1/health HTTP/1.1
Host: api.yourapp.com
Authorization: Basic dXNlcjpwYXNzd29yZA==
Where dXNlcjpwYXNzd29yZA== is base64(user:password).
Used by: Legacy APIs, internal admin endpoints, some webhook endpoints.
How to encode:
echo -n "monitoring-user:monitoring-password" | base64
# Output: bW9uaXRvcmluZy11c2VyOm1vbml0b3JpbmctcGFzc3dvcmQ=
How to configure in Webalert: Add a custom header:
- Header name:
Authorization - Header value:
Basic bW9uaXRvcmluZy11c2VyOm1vbml0b3JpbmctcGFzc3dvcmQ=
Many monitoring tools (including Webalert) also support Basic Auth natively via username/password fields, handling the encoding automatically.
Pattern 4: API Key in Query Parameter
Some APIs accept the key as a URL query parameter instead of a header.
Format:
GET /api/v1/data?api_key=your-key-here
Used by: Some older APIs, map/geocoding services, analytics APIs.
How to configure in Webalert: Include the key in the URL itself when setting up the monitor:
https://api.yourapp.com/v1/data?api_key=your-key-here
Security note: Query parameter keys appear in server logs and browser history. Prefer header-based authentication where you control the API. Use query parameter auth only when the API requires it.
Pattern 5: Multiple Headers Combined
Some APIs require multiple authentication or identification headers simultaneously.
Example:
GET /api/v1/data HTTP/1.1
Host: api.yourapp.com
Authorization: Bearer eyJhbGciOiJIUzI1...
X-Account-ID: acct_123456
X-Request-ID: req_abc789
Content-Type: application/json
How to configure in Webalert: Add all required headers to your HTTP check. Most monitoring tools support multiple custom headers per check.
Best Practices for Monitoring Credentials
Create dedicated monitoring credentials
Never use a production user's credentials for monitoring. Create a dedicated service account:
- Descriptive name:
monitoring@yourcompany.comorwebalert-monitor - Minimal permissions: Read-only access to the endpoints being monitored. No write, delete, or admin capabilities.
- Clear purpose: Label it explicitly as a monitoring account so it's never accidentally deleted.
- Separate from CI/CD: Don't reuse deployment tokens for monitoring. Keep them separate so rotating one doesn't break the other.
Why this matters:
- If the credentials leak, the blast radius is minimal (read-only)
- You can rotate them independently without affecting other systems
- You can track monitoring API calls separately in your logs
- When the account makes a request, it's clearly identifiable as monitoring traffic
Use long-lived tokens where possible
Short-lived tokens (expiry under 24 hours) are a poor choice for monitoring credentials because:
- Your monitoring checks will start failing when the token expires
- You need a process to automatically refresh the token and update your monitoring configuration
- Manual token rotation is error-prone — people forget, monitoring breaks silently
For monitoring, prefer:
- Static API keys with no expiry (rotate quarterly or when compromised)
- JWTs with 1-year expiry
- Service account tokens with automatic rotation and monitoring tool integration
Store credentials securely
Don't put monitoring credentials in plaintext configuration files or hardcode them in scripts. Use your monitoring tool's built-in secrets management:
- Webalert stores custom header values encrypted and never exposes them in the UI after saving
- Treat monitoring credentials with the same care as any other API secret
Monitor the auth mechanism itself
Beyond monitoring whether your API returns 200, also check that authentication is enforced:
- Verify that requests without credentials return 401 (not 200)
- Alert if an endpoint that should require auth suddenly becomes publicly accessible
- This catches accidental auth middleware removal during deployments
What to Monitor on Authenticated Endpoints
Health endpoints (behind auth)
Some APIs expose internal health endpoints that require authentication to prevent information leakage:
GET /api/internal/health HTTP/1.1
Authorization: Bearer monitoring-token
These are ideal for monitoring — they're designed to return a clear status signal, and they test the full auth chain.
Core API endpoints
Monitor the endpoints that matter most to your users:
| Endpoint type | Example | What failure means |
|---|---|---|
| Data read | GET /api/v1/dashboard |
Users can't load their dashboard |
| Auth check | GET /api/v1/me |
Auth system is broken |
| Dependency health | GET /api/v1/health |
Service or dependencies are down |
| Key feature | GET /api/v1/monitors |
Core product feature is unavailable |
Response validation
For authenticated endpoints, go beyond status code checks. Verify that the response contains expected data:
- Auth endpoint: Response body contains
"user_id"or"email"field - Data endpoint: Response body is non-empty JSON array or object
- Health endpoint: Response body contains
"status":"ok"
This catches cases where authentication passes but the underlying data query fails, returning an empty or malformed response with a 200 status code.
Response time
Authenticated endpoints often do more work than public ones — database queries, permission checks, data aggregation. They're more likely to show performance degradation first.
Set response time alerts for your authenticated endpoints. A 3x increase in response time for /api/v1/dashboard is an early warning of a database issue or query performance regression.
Handling Token Expiry
If your monitoring token expires, your checks will start failing with 401 Unauthorized. You need a plan for this.
Option 1: Use tokens that don't expire
Create an API key or service token with no expiry date. This is the simplest approach.
Trade-off: No expiry means the token remains valid indefinitely if compromised. Mitigate by using read-only credentials and monitoring for unexpected usage patterns.
Option 2: Long-lived tokens with calendar reminders
Generate a JWT or token with 1-year expiry. Set a calendar reminder 30 days before expiry to rotate it.
Trade-off: Manual process. Easy to miss.
Option 3: Automated token refresh
Build a small script or service that automatically refreshes the monitoring token and updates your monitoring tool's configuration via API.
When this is worth it: If your auth system only supports short-lived tokens (e.g., OAuth 2.0 client credentials with 1-hour tokens), automation is the only sustainable approach.
Option 4: Monitor the monitor
Use a secondary check that monitors whether your primary authenticated check is passing. If the primary check returns 401, alert with "token may have expired" as additional context.
Practical Examples
Monitoring a REST API with JWT
You have an internal API at https://api.yourapp.com/v1/health that requires a JWT.
Step 1: Generate a monitoring JWT
import jwt
import datetime

payload = {
    "sub": "webalert-monitor",
    "role": "monitoring",
    "iat": datetime.datetime.utcnow(),
    "exp": datetime.datetime.utcnow() + datetime.timedelta(days=365)
}
token = jwt.encode(payload, "your-jwt-secret", algorithm="HS256")
print(token)
Step 2: Set up the monitor in Webalert
- URL:
https://api.yourapp.com/v1/health - Method: GET
- Custom header:
Authorization: Bearer <token> - Content check: response contains
"status":"ok" - Alert threshold: 2 consecutive failures
- Interval: 1 minute
Monitoring a Stripe-style API
You have an internal service with Stripe-style API key authentication.
Step 1: Generate a read-only API key
Create an API key in your system with read-only scope. Label it webalert-monitor.
Step 2: Set up the monitor
- URL:
https://api.yourapp.com/v1/ping - Method: GET
- Custom header:
X-API-Key: rk_live_monitoring_abc123 - Content check: response contains
"pong"or"ok"
Monitoring an endpoint that requires multiple headers
Your internal API requires both a bearer token and a tenant ID.
Set up the monitor with multiple custom headers:
- Header 1:
Authorization: Bearer monitoring-token-here - Header 2:
X-Tenant-ID: tenant_12345 - URL:
https://api.yourapp.com/v1/health
How Webalert Supports Authenticated Monitoring
Webalert's HTTP checks support full custom header configuration for every authentication pattern:
- Custom headers — Add any header name and value to your check. Supports
Authorization,X-API-Key,X-Auth-Token, and any other custom header. - Multiple headers per check — Configure as many headers as your API requires.
- Encrypted storage — Header values (including tokens and API keys) are stored encrypted and never exposed in plaintext after saving.
- Content validation — Verify response body contains expected strings, not just a 200 status code.
- Response time monitoring — Track latency trends for authenticated endpoints over time.
- Method support — GET, POST, PUT, PATCH, DELETE — monitor any HTTP method your API uses.
- Request body — Send custom JSON bodies for POST/PUT checks (useful for testing write endpoints in a non-destructive way).
- 1-minute check intervals — Catch authentication failures within minutes of them occurring.
Set up authenticated API monitoring in under 5 minutes.
See features and pricing for the full details.
Summary
- Standard uptime checks only cover public URLs. Authenticated APIs are where most business-critical failures actually happen.
- Four main patterns: API key in header, bearer token (Authorization header), Basic Auth, and API key in query parameter. All can be configured with custom headers.
- Create dedicated monitoring credentials with read-only permissions. Never reuse production user credentials.
- Use tokens that don't expire or long-lived tokens to avoid monitoring checks failing due to expiry.
- Go beyond status codes — use content validation to verify responses contain expected data, not just a 200 status.
- Monitor the auth layer itself — verify that requests without credentials return 401, catching accidental auth middleware removal.
- Response time matters — authenticated endpoints often show performance degradation before they fail outright.
Your API is only as reliable as your ability to detect when it breaks. For authenticated APIs, that means monitoring with credentials.